# Spatial Division
# Spatial Division Manager
"Spatial Division" feature provides a flexible area division function, allowing users to split zones according to management needs. This helps spatial division manager effectively identify and display clash points within the model. By integrating spatial division information, division manager can quickly locate clashes and identify responsible user. This feature is particularly useful for marking the specific location of clashes and identifying the owner of each division.
# Creating and Uploading Spatial Division
# 1. Select a SyncoBox Project for Binding
Follow these steps to complete the binding process between Revit and SyncoBox project:
In the Revit function panel, navigate to [ SyncoBox BIM Workflow ]
 [ Bind SyncoBox Project ].
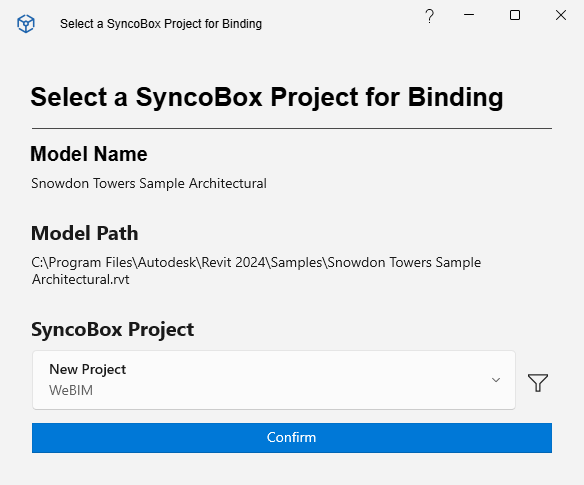
In the pop-up "Select a SyncoBox Project for Binding" window, use the drop-down menu to select the project you want to bind, then click [ Confirm ] button to complete the binding.
2. Creating an Area Plan
- In the [ Architecture ] tab of the Revit function panel, find [ Rooms & Areas ] and select [ Area & Volume Computations ].

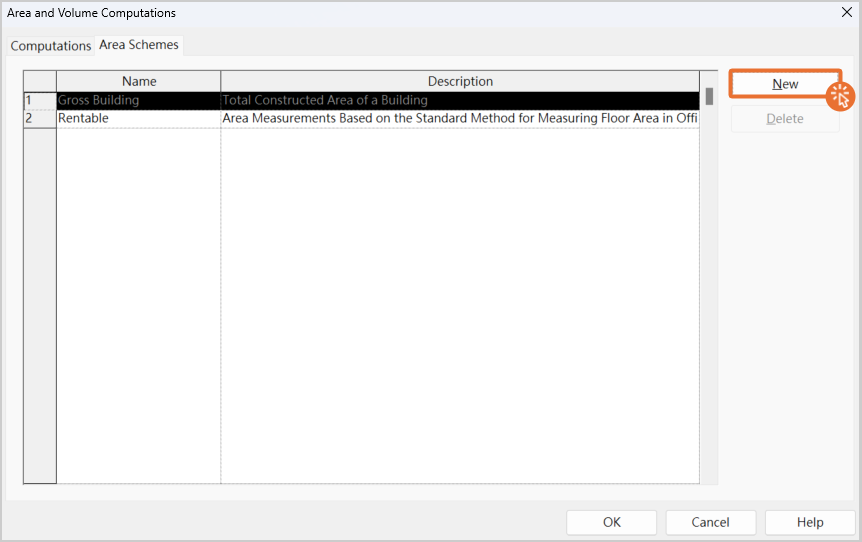
- In the [ Area and Volume Computations ] window, switch to the [ Area Plans ] tab and click [ New ].
- In the pop-up [ Select Area Scheme Type ] window, choose either [ Create Rentable Area Scheme ] or [ Create Gross Area Scheme ], and click [ OK ].

- Name the newly created area plan [ SyncoBox Spatial Division ], then click [ OK ] to complete the area plan creation.

3. Selecting the Area Plan and Floor
In the [ Architecture ] tab, select [ Area ]
[ Area Plan ].In the pop-up [ New Area Plan ] window, select the created 1 "SyncoBox Spatial Division" from the drop-down list.
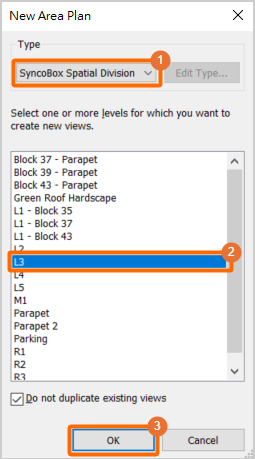
2 Choose the floor where the spatial division will be created, then click 3 [ OK ].
A prompt will appear asking whether to [ Automatically create area boundary lines associated with all external walls? ], select [ No ].
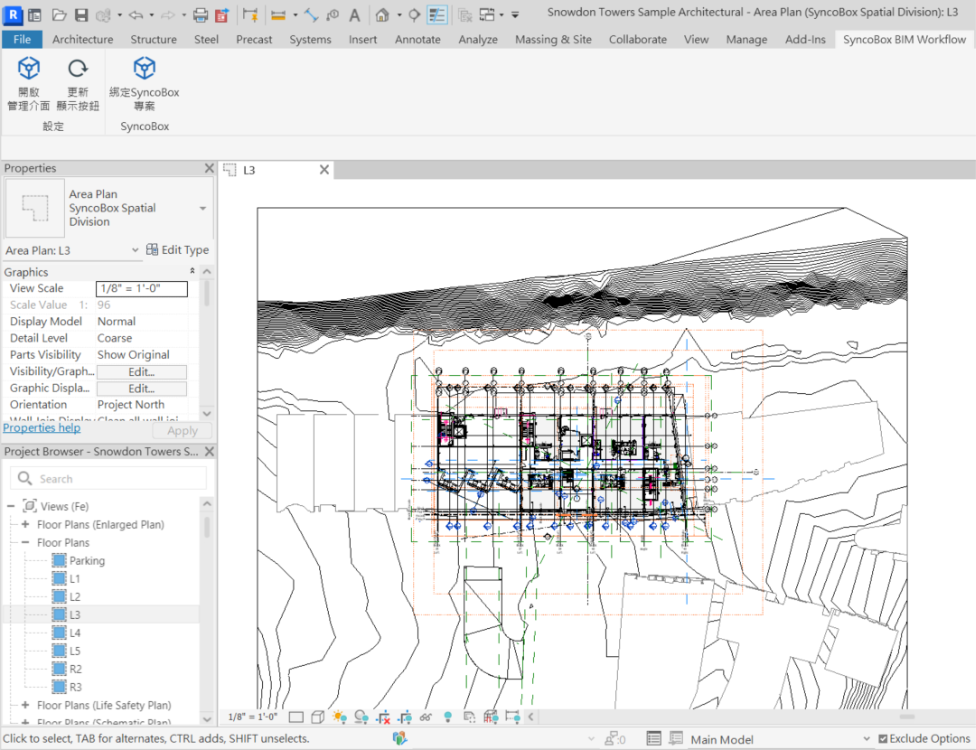
Upon completion, Revit will automatically open the selected floor from Step 3.
4. Creating Spatial Divisions
- In the [ Architecture ] tab, select [ Area Boundary ].

- Click 1 [ Modify | Place Area Boundary ] tab, then use the 2 drawing tools to layout a closed area.

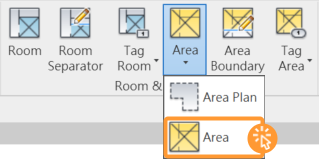
- Click [ Architecture ] [ Area ] [ Area ] and place the area tag within the drawn spatial division, then press [ ESC ] on the keyboard.
- After placing the tag, click the cross-line on the area tag to highlight the range.
TIP
If the tag's cross-line cannot be selected, use the Tab key on keyboard to switch selection.
- The SyncoBox Spatial Division feature mainly captures "Area", "Number", and "Name". Use the Revit properties panel to edit the "Number" and "Name" of the spatial division.

5. Exporting Spatial Divisions to SyncoBox
- In the [ TSMC Project Workflow ] tab, click the [ Export Spatial Division to SyncoBox ] button to initiate the process.
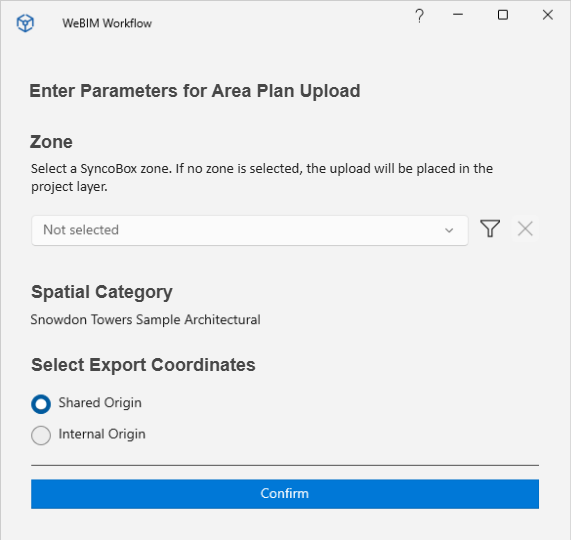
- In the pop-up window, edit the project area and select export coordinates, then click [ Confirm ]. Note that the export coordinate option must match the coordinate settings used for WeBIMSync.
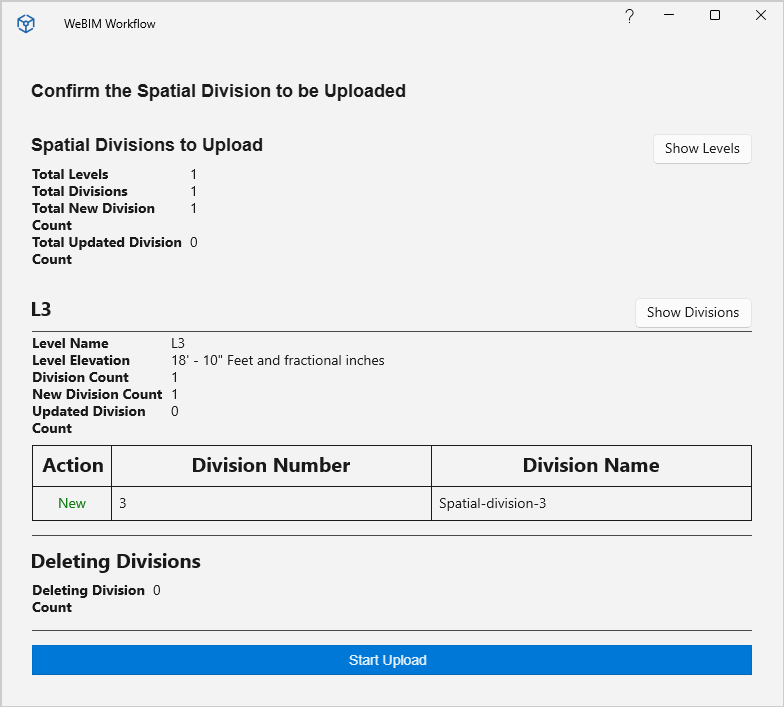
- Before uploading, the window will display the spatial division information to be uploaded. You can select [ Show Levels ] and [ Show Divisions ] to view the number of floors, spatial divisions, and total added or updated spatial divisions.
TIP
The operations of adding, updating, or deleting spatial divisions are based on the spatial division number. If a number already exists during the upload, the system will "Update" the data. If a number is deleted, the system will indicate "Delete".
- Once confirmed, click "Start Upload" to proceed.
# Spatial Division Interface
SyncoBox provides the "Spatial Division" feature, which integrates detailed spatial division information uploaded from Revit model. This enables spatial division manager to accurately track "Clashes' Location" and "Spatial Division Owners".
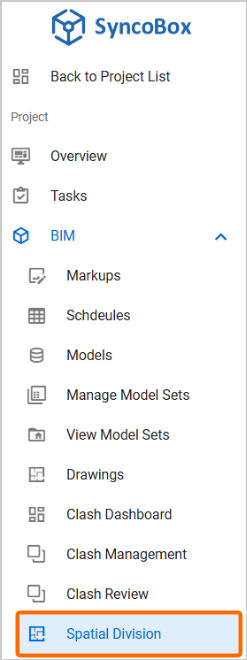
You can access this feature in the SyncoBox project by navigating to [ BIM ] [ Spatial Division ].
Upon entering the "Spatial Division" page, SyncoBox presents a complete list of spatial divisions, including the following key fields:
Number: A unique identifier for each spatial division.
Spatial Division Name: A name for easy identification.
Level Name: Displays the floor location of the sspatial division, aidingin quick navigation.
These fields provide spatial division manager with an overview of spatial divisions and assist the team in understanding spatial division allocation and management.

# Assigning Spatial Division Owners
Spatial division manager can assign owner to each spatial according to project requirements, ensuring clear role assignments within the project team. Click the [ CHANGE OWNER ] button, then, you can select a member responsible for a spatial division. Assigning owners helps strengthen accountability. Clicking [ REMOVE OWNER ] button will remove the assigned owner from a spatial division.

# Clashes and Spatial Division
After accessing the SyncoBox project, navigate to [ BIM ] [ Clash Management ] from the left-side menu, then select a "Clash Sets". Left-click on the clash result to view detailed information, including the specific range of the clash and the affected spatial division.

On the clash results page, SyncoBox displays detailed information for each clash result, including the spatial division and its assigned owner.

By linking spatial divisions with clash points, division manager can quickly pinpoint problem areas and facilitate timely clash resolution. This intuitive presentation not only reduces the time needed for issue identification but also enhances team collaboration.