# Company Settings
# Company Member Settings
# Company Manager
By creating and managing company members, system administrators can invite users to join the company and assign appropriate Role and Identity based on actual needs, ensuring operational flexibility and security. Below are the detailed steps for managing company members:
- Access the Company Settings Page
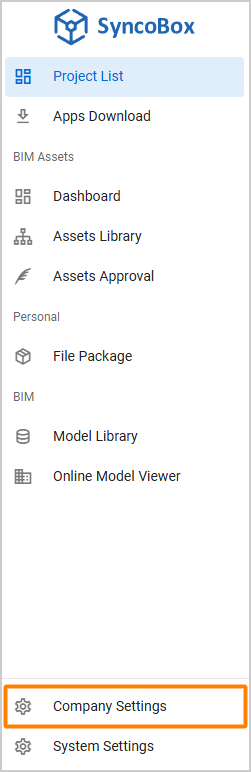
Click the [ Company Settings ] tab which located at the bottom of the left menu.
- Access the User Management Page
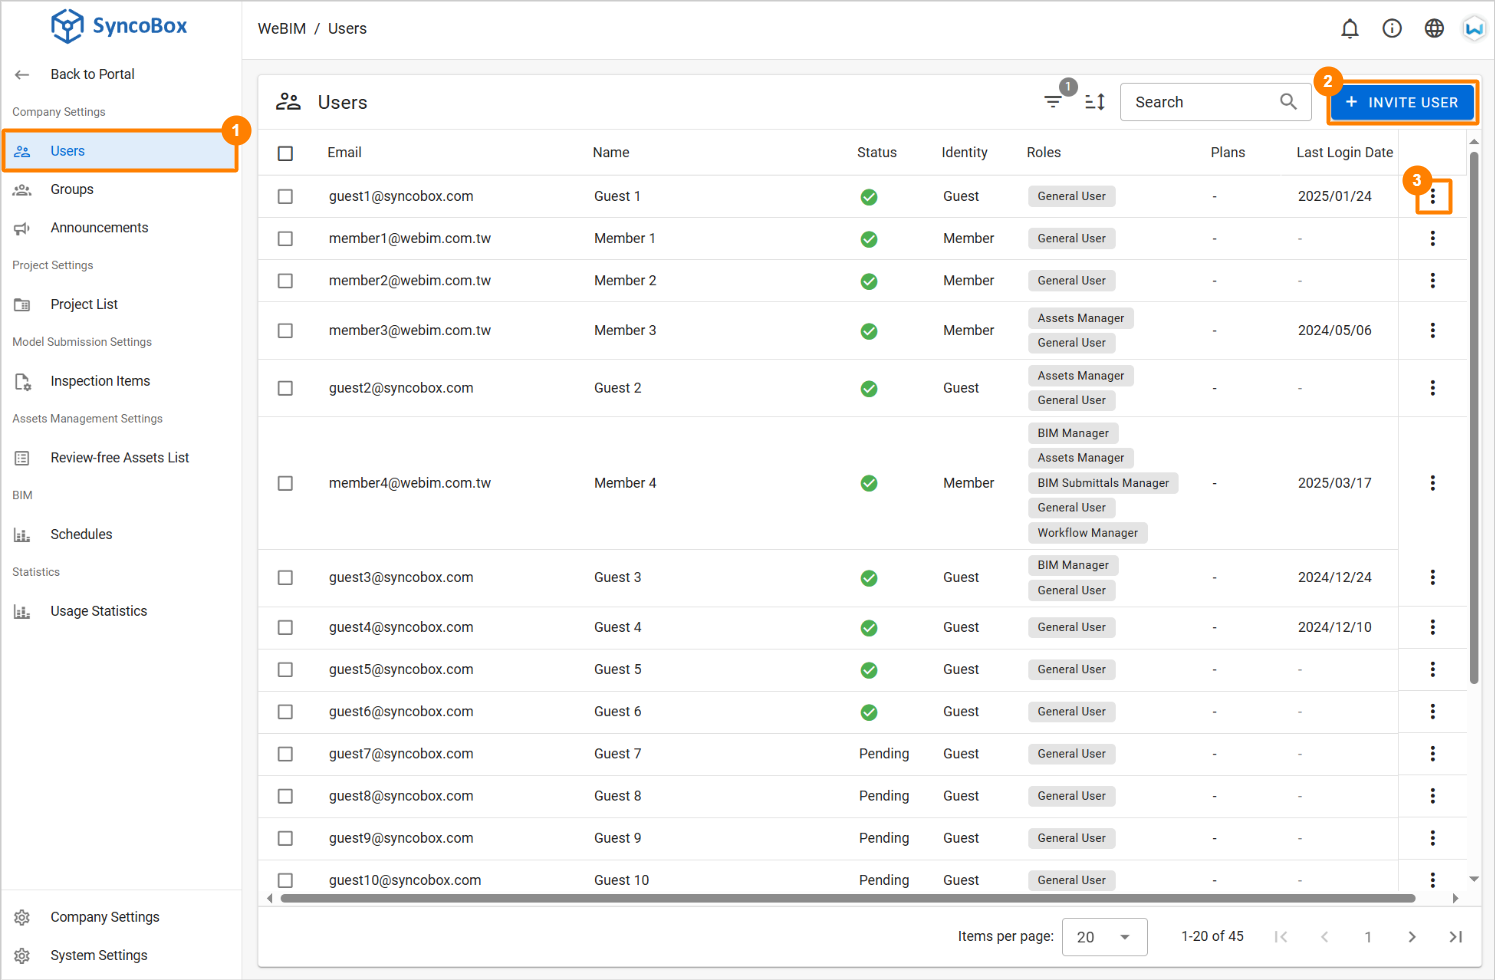
Once on the "Company Settings" page, click on the 1 [ Users ] tab to begin configuring company members.
- Invite New Members
Click the 2 [ Invite User ] button to add users to the company.
- Manage Company Member Roles and Identities
From the user list, click 3 [ ] button to make further configurations:
- Click [ Manage Company Roles ] button to assign the user's role within the company.
- Click [ Participated Projects ] button to view the projects where the user is currently a member.
- If the user’s identity is "Guest", click [ Set As Company Member ] button to change their identity to "Member".
# Creating a New Project
# Company Manager
# Steps to Create a Project
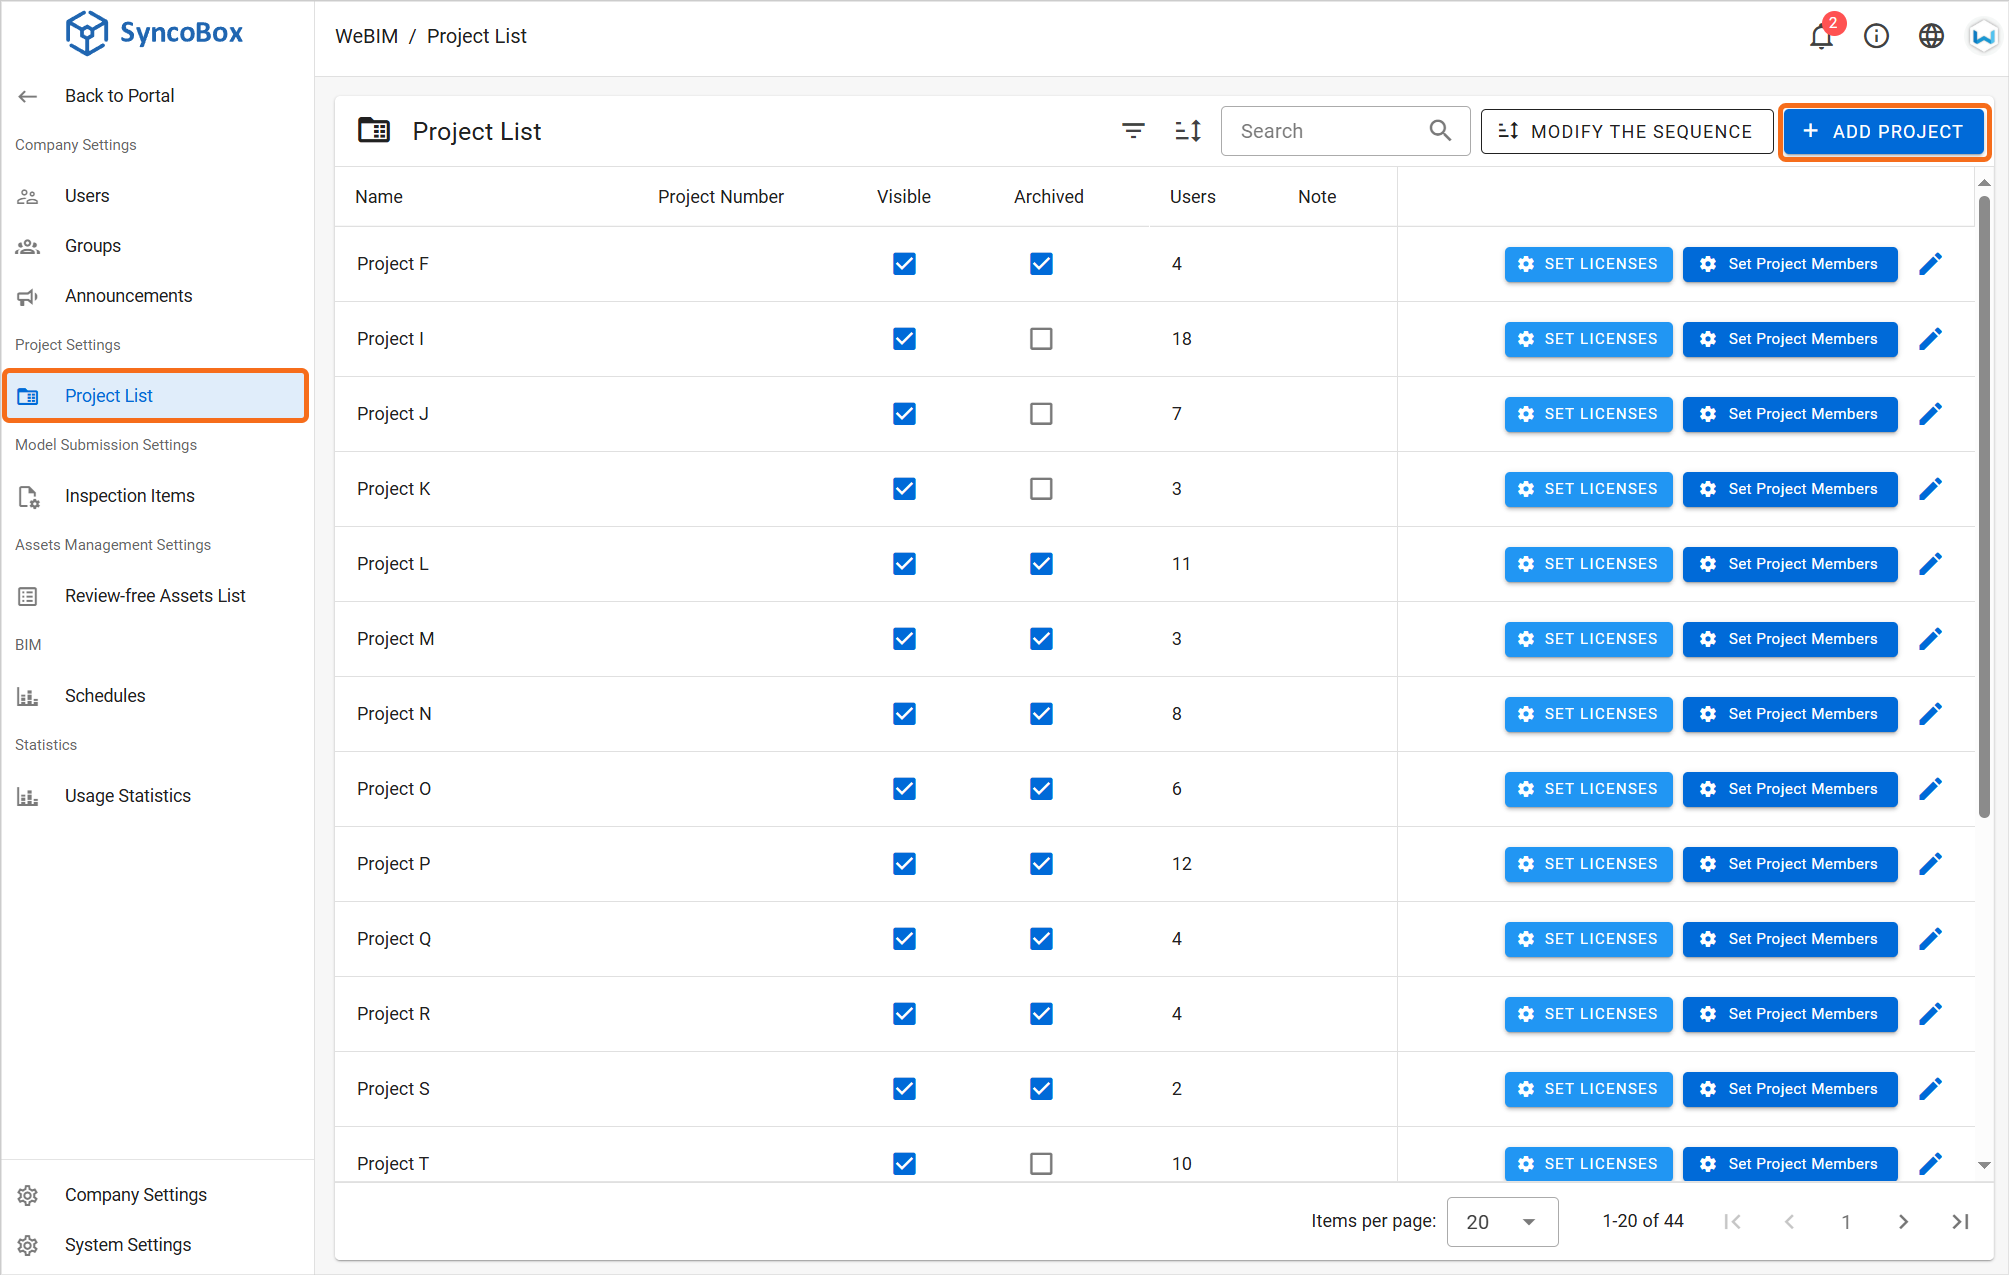
- Click on the [ Company Settings ] tab of the menu.
- Select [ Project List ], then click [ Add Project ] to create a new project.
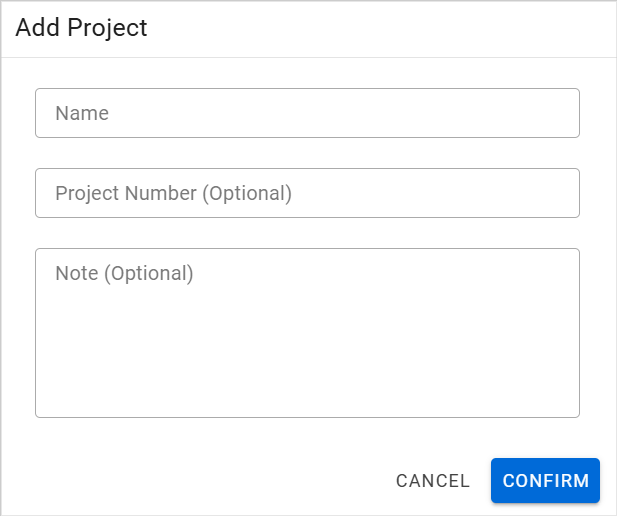
- Please fill the Project Name, Project Number, and Note. Once completed, click [ Confirm ] button to finalize the creation of the new project.
WARNING
After creating a new project, it is essential to use the [ Set Project Members ] button in the project list actions menu to assign at least one project manager. This step is mandatory to enable further project-level configurations.
# Zone (Default)
Upon creating a new project, the system will automatically generate a default zone named Main. Project manager can create additional zones based on project requirements. Refer to the Creating Zones section for the detailed process.
To manage zones, click to the [ Settings ]  [ Zone Settings ] tab in the project menu. This will display the list of zones within the project, providing an overview of the project’s zone management.